Welcome to our Support Portal. Search for answers using the search box below.,
SYSPREP – Imaging Walk Through
When to use Sysprep
Sysprep is the final step in four recurring scenarios:
| Scenario | Platform | Objective |
|---|---|---|
| Golden image for VMs | Hyper-V, VMware ESXi, Azure, AWS | Each VM instantiated from the template starts with a unique SID |
| Bare metal deployment | WDS, MDT | Prepare a .wim image to be distributed on multiple physical machines |
| Re-imaging of existing machines | Any | Start over from a clean configuration, without the SID and accounts of the old installation |
| Multi-client MSP environments | Any | Make the same golden image reusable on different infrastructures |
Where to find Sysprep and how to launch It
Sysprep is always located in:
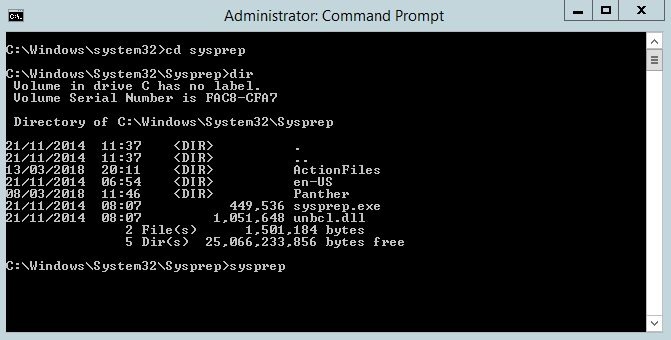
C:\Windows\System32\Sysprep\ It must always be run as an Administrator; otherwise, it will launch and fail silently with an error. There are two possible methods:
- From File Explorer: Right-click
sysprep.exe→ Run as Administrator. - From elevated PowerShell or CMD: Use
cd C:\Windows\System32\Sysprepthen runsysprep.exe
The Sysprep GUI: options
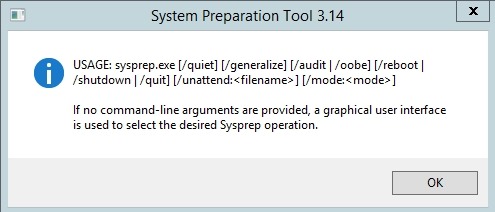
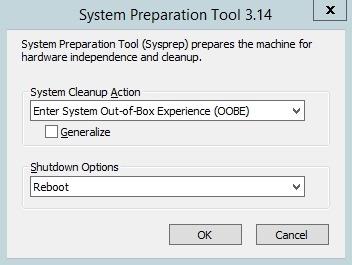
Launching sysprep.exe opens an interface with three primary choices.
- System cleanup action
- Enter System Out-of-Box Experience (OOBE): resets the system to its “first boot” state; at the next startup, it will ask for language, account, and license settings. This is the correct mode for templates and golden images.
- Enter System Audit Mode: starts the system as a local Administrator, bypassing the OOBE. This is used when you still need to install software or drivers on the image before finalizing it.
Note: the system will continue to reboot into Audit Mode until explicitly redirected to OOBE.
- Generalize
- Always check the box Generalize when preparing an image for cloning. This flag removes the SID and hardware-specific information. Without it, the deployment will produce machines with identical SIDs.
- Shutdown options
| Option | When to use it |
|---|---|
| Shutdown | You are preparing a template to be captured or saved. |
| Reboot | You want to verify the OOBE behavior on the same machine. |
| Quit | Exit without performing any action. |
Step-by-step tutorial: standard scenario (OOBE + Generalize + Reboot)
This workflow is used to validate the OOBE behavior before moving to production deployment, for both VMs and bare metal.
- Open
sysprep.exeas an Administrator ; - Configure the options:
- System cleanup action: enter System Out-of-Box Experience (OOBE).
- Check “Generalize“.
- Shutdown Options: Reboot;
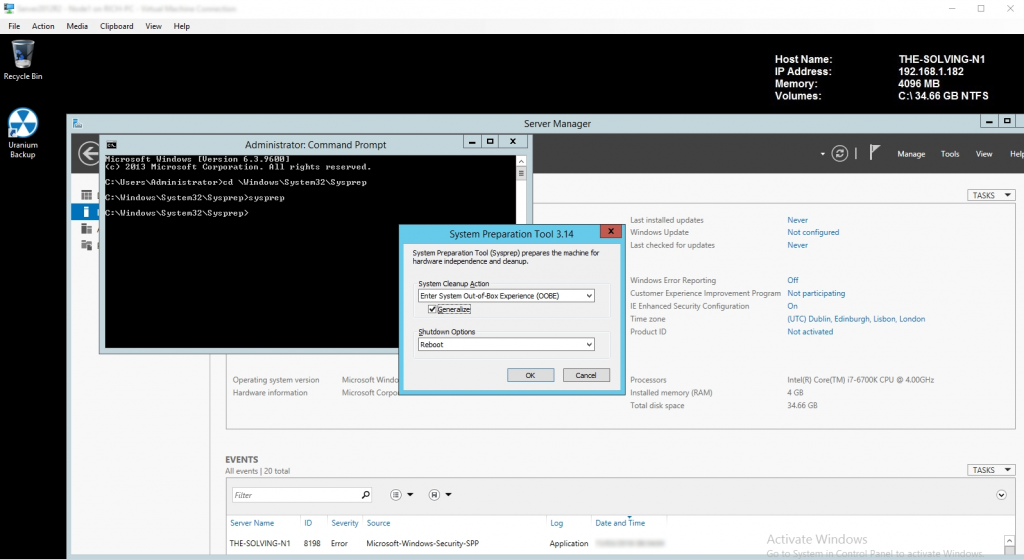
- Click OK. Sysprep will start the generalization process. When finished, the system will automatically restart and present the OOBE wizard on the same machine;
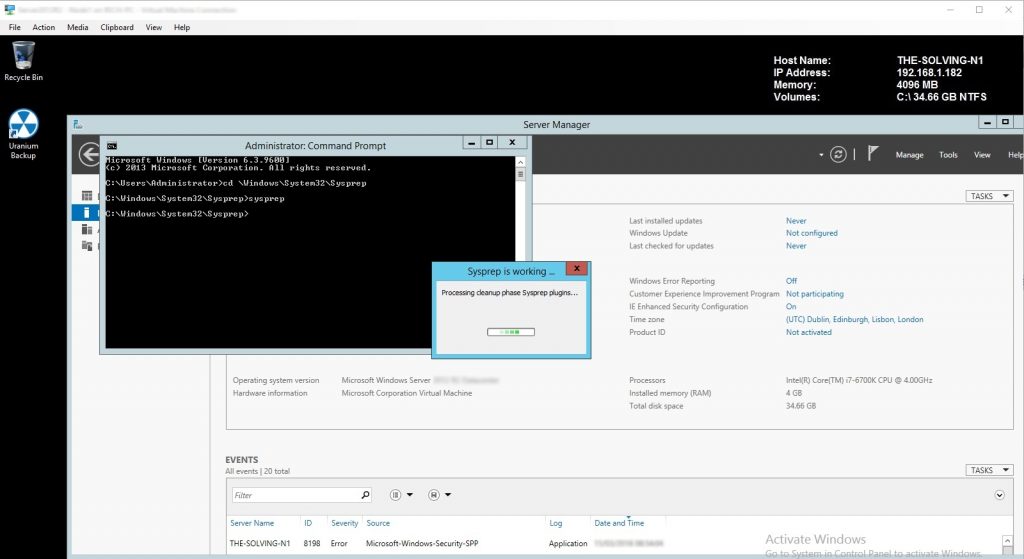
Note: To capture the image, repeat the process selecting Shutdown as the final option: use DISM to export a .wim file, or save it as a template in your virtualization platform.
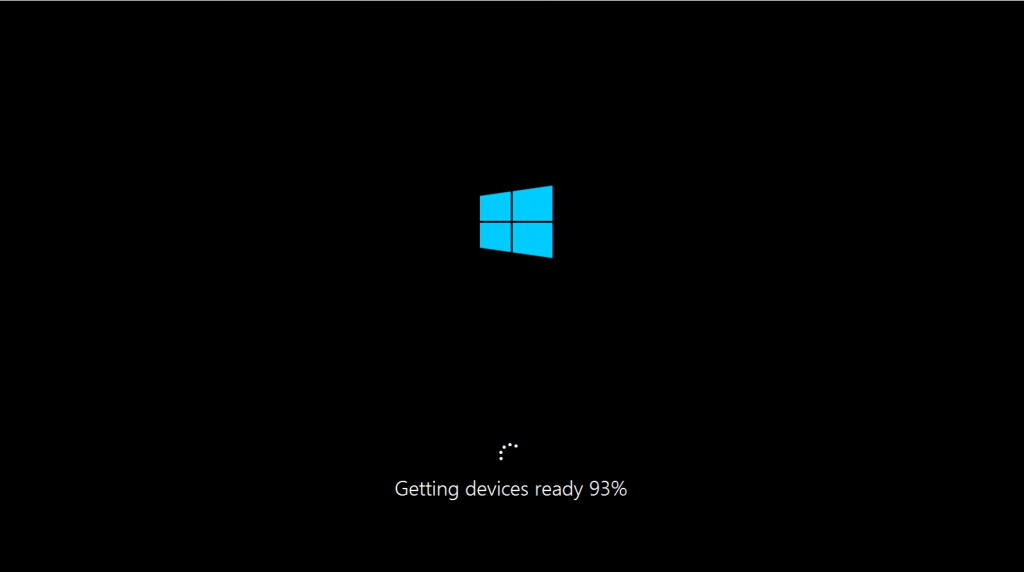
First boot post-Sysprep
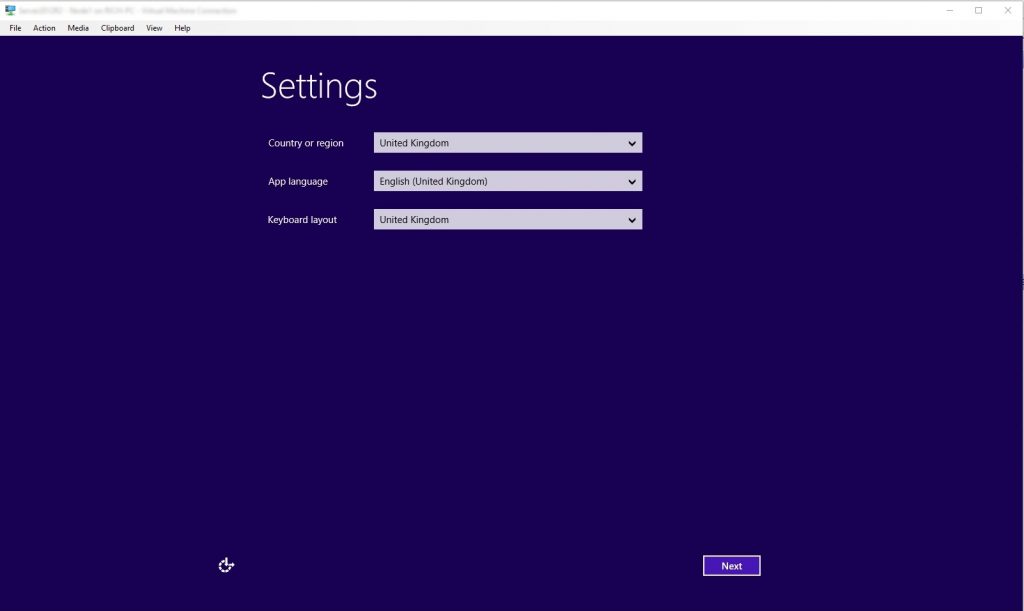
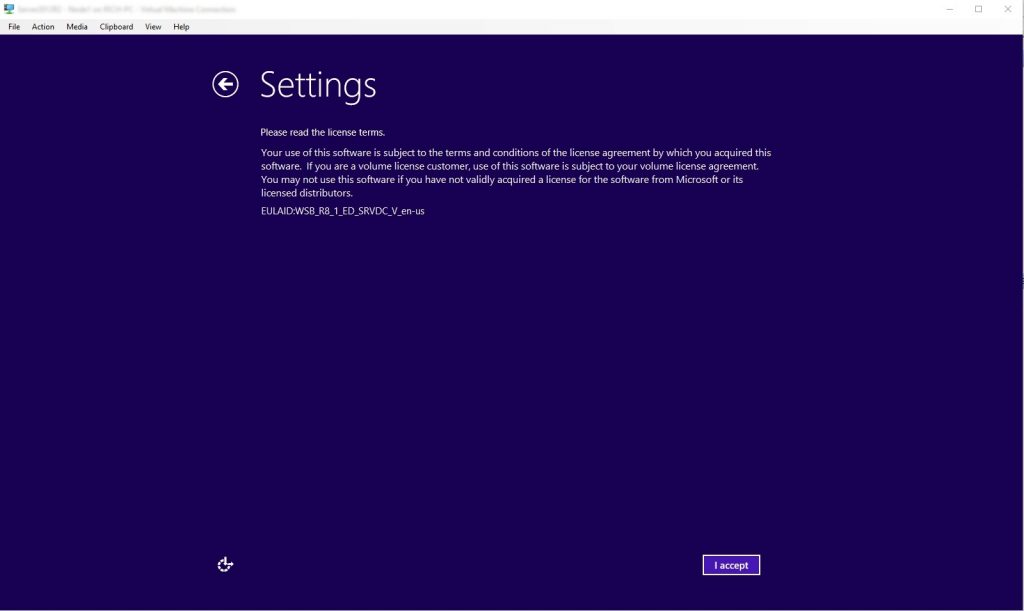
Upon the first boot with OOBE, Windows presents the initial setup wizard:
- Regional and language settings.
- EULA acceptance.
- Creation of the Administrator account (Server) or user account (Windows 10/11).
Upon completion, Windows generates a new unique SID for that machine, and the system becomes operational.
Sysprep via Command Line
For automated deployments, scripts, and MDT task sequences, the command line is the preferred method.
- Standard command – OOBE template:
sysprep.exe /oobe /generalize /reboot- Audit Mode:
sysprep.exe /audit /reboot- With
unattend.xmlresponse file:
sysprep.exe /oobe /generalize /shutdown /unattend:C:\Deploy\unattend.xmlThe unattend.xml file – generated with Windows System Image Manager (WSIM) included in the ADK – automates the OOBE phase: computer name, domain join, local accounts, regional settings, and additional software. For any large-scale unattended deployment, this is the standard configuration.
Note: the unattend.xml command uses /shutdown because in an automated deployment scenario the image is already validated and ready for capture. Unlike the interactive workflow with /reboot, there is no need to verify the OOBE behavior on the same machine.
For a full list of parameters, use:
sysprep.exe /?Advanced scenario: Audit Mode for image customization
When you need to install additional software or drivers before generalization and distribution, Audit Mode is the right tool.
Workflow:
- Run
sysprep.exe /audit /reboot - The system reboots as Administrator in Audit Mode.
- Install software, drivers, and additional configurations.
- Run Sysprep a second time with
/oobe /generalize /shutdownto finalize.
Note: /shutdown is used in step 4 because the image is ready for capture, not for validation.
Limits and common issues
| Problem | Cause | Solution |
|---|---|---|
| Execution limit reached | Sysprep can run a max of 1001 times on the same installation (Windows 10/11 and Windows Server 2016+) | Run it only once on the final image, after all customizations |
| Sysprep fails during generalization | Incompatible applications: aggressive DRM, VPN clients, software that writes the SID to the registry | Read C:\Windows\System32\Sysprep\Panther\setuperr.log to identify the component blocking the process |
| Hard-to-diagnose errors post-generalization | Partially applied Windows updates or pending reboots before Sysprep | Apply all updates and reboot before proceeding |
| Missing drivers after deployment | /generalize removes hardware-specific drivers | Manage drivers in the post-deployment phase, especially in environments with heterogeneous hardware |
| Sysprep fails on a domain-joined machine | The system is still a member of an Active Directory domain | Remove the machine from the domain before running Sysprep |
Integration with modern workflows
In 2026, Sysprep is rarely used alone; it is part of an ecosystem:
- MDT: manages the entire image lifecycle with automated task sequences that include the Sysprep phase.
- Windows Autopilot: requires a sysprepped image as a base for zero-touch deployment with Intune/Azure AD.
- DISM: captures and distributes
.wimimages post-Sysprep. - Hyper-V / VMware: templates are sysprepped before being saved for future cloning.
Pre-Sysprep checklist
- Windows Updates fully applied, no pending reboots.
- Third-party software installed and tested.
unattend.xmlfile ready and validated (if using unattended deployment).- Verify application compatibility; check
setuperr.logif in doubt. - Snapshot or backup of the image performed before proceeding.
- Choose the appropriate Shutdown option based on your goal: Shutdown for production capture, Reboot for validation.
Using Sysprep correctly – with /generalize, a response file, and integrated into MDT or Autopilot workflows – makes the difference between a scalable deployment and a collection of machines managed one by one.